
Here's instructions on making the succulent arrangement I shared yesterday. I took it to our in-laws who just had their little girl, but it would be great as a housewarming gift or thank you gift or anything else like that.

Materials for cleaning out the jar:
-old candle jar
-flat head screw driver
-napkin
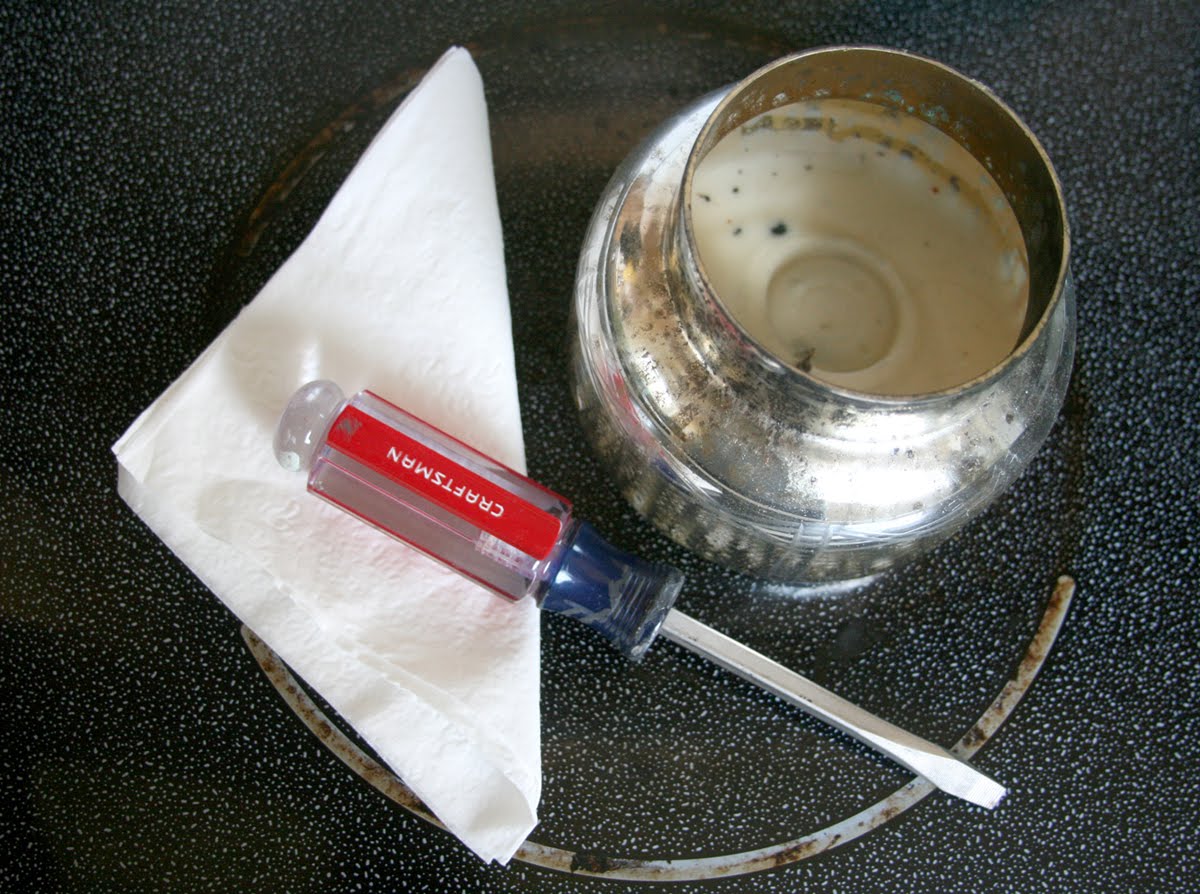
STEP 1: Scrape out the old wax with the screwdriver. I thought this would be tedious and awful, but it was surprisingly easy! It all came out in large chunks. It only took a minute or so.

You can throw the wax away OR you can remelt it into another candle. This one smells SO good! Throwing it away wasn't even an option to me.

STEP 2: Wipe out the remaining residue with a napkin.

You're done! Now onto the next part of the project: Planting the succulents
Materials for planting the succulents:
-small rocks/ pebbles
-palm and cactus soil
-succulents
-your jar that's now clean

STEP 1: Fill the bottom of the jar with small rocks

STEP 2: Fill the jar with soil

STEP 3: Plant the succulents and pack the soil


STEP 4: Give the succulents some water (the soil should absorb the water and allow you to pack it a little more).

Now for the last part of the project: Decorating!
Materials for decorating:
-scissors
-edge puncher
-typewriter
-twigs/ picks
-ribbon
-hot glue gun
-twine or fabric


Step 1: Make your ribbon flags.


Step 2: Type your message with your handy typewriter. Cut it out and make your edges pretty before putting it on the jar. I used this edge puncher by Martha Stewart.


Step 3: Wrap the jar with twine or pretty fabric


You're done! Hooray! Now give it to someone special ♥

i love this idea so much, its so pretty!
ReplyDelete